Wednesday, November 28, 2012

December Scrapbooking Classes!

Greetings fellow scrappy friends!


I’m back with a series of scrapbooking classes for you. This December, you will get 4 scrapbooking classes and 1 card making class! How cool is that?

The class will be held in December, and it works on a first come first serve basis. You can register by sending me an email at greentea_world_56@hotmail.com with the subject “Pepper Creations December Scrapbook Classes” to reserve a seat. Your seat will be confirmed once you made the payment.


There is no fixed date for the class, and that’s the flexibility you can get at Pepper Creations. Since we have a small group, once the minimum class size is hit, and everyone has confirmed their attendance, we will come up with a date that everyone of us can make it  :)


I hope you will join me in the fun and see you soon in classes :)


  • Click here if you want to download onto your phone. (you can download the app called Scribd so that you can save the doc in pdf form :)
  • Click on the link below to download the PDF for more information of the classes we offer this december :) (Click on the download button on the top right hand corner of the page) https://www.box.com/s/jxulr0noojtbbe8yjhps


Here are the descriptions of each class. 
*Click on the various images to have a clearer view of the class samples !*


1. Simply Scrapbooking


Want to start Scrapbooking but not know where to begin? Simply Scrapbooking is the workshop to take now! In this workshop, you will be exposed to the different choices of Scrapbooking projects that you can take on. You will be making one layout and one mini tag book in the class base on samples I will be showing you in the class. I will also be sharing tips on how scrapbook using minimum supplies, clever scrapbook shopping tips to save money, and also some basic design concepts in making scrapbook layouts looks professional :) All these, makes it easy and fun to learn so that you can get started on Scrapbooking ! 

Why wait? Call upon a scrappy buddy and join us now!

P.s: this workshop works best if you come with your friends , or even friends whom you want to introduce Scrapbooking to :) as this workshop is more hands on and pretty interactive one :) Not sure who to bring? Just hop on and you will find various scrappy buddies right here!

2. Inky Layering Fun!


Ever feel your layouts are too plain? Not enough dimension? In this class, you will be able to experience all the fun about layering and inking with the bright and cheerful Pink Paislee Spring Jubilee collection. Get misty with the Prima resist canvas embellishments and Tattered Angels Glimmer mist. You will also be able to play with embossing and stamping to create your own customized tags, and add dimension to your layouts using shape and edge punches J

3. Eco Mini Album (Back by popular demand!)


Create a mini album from scratch. This mini album is a fun and interactive one. In this class, you will get to play with paint, lots of paper punches and learn how to make your own embellishments from paper without having to buy those expensive flowers etc. This album is approximately 5 inches by 3 inches; it includes 4 pockets and 4 tags for you to journal on and add photographs.

4. Travel Paper bag Album (Back by popular demand!)


Learn to make an album using paperbags! You will learn to assemble the mini album from scratch. At the same time have fun with making embellishments from stamps and make use of spray mist and inks to add colour to your tags :)

We will be using a different colour scheme this time, with the amazing Heidi Swapp Vintage Chic collection. It will brighten your day with the awesome teal, pinks, yellow and map print!

5. Merrily Merry Christmas


Learn to make THREE interactive x’mas cards with the beautiful Simple Stories x’mas collection. You will learn how to make the mechanisms of each cards, and the ideas are transferable to cards of other festivals(be it valentines days, birthday and etc)! You will learn additional tips on how to make the interactive cards works better :)

______________________________________________________

What's more?
This is the first time I'm formally launching so many scrapbooking classes at one go, I'm going to spice things up abit by extending some special offers to you ladies! 

Early Birds discount (valid until 2nd december)
  • Sign up for a class and receive 10% discount !
  • Sign up for 2 classes to receive 15% discount!
  • Recommend a friend and both of you gets 15% off the class :D


  • Click here if you want to download onto your phone. (you can download the app called Scribd so that you can save the doc in pdf form :)


  • Click on the link below to download the PDF for more information of the classes we offer this december :) (Click on the download button on the top right hand corner of the page) https://www.box.com/s/jxulr0noojtbbe8yjhps


The classes will be held in my humble studio and home located in Yishun Chong Pang area , easily accessible from the Yishun MRT (:

If there is any questions regarding the classes, feel free to drop me an email at greentea_world_56@hotmail.com


Wednesday, November 14, 2012

Project Life!

Yes I finally got it started! I always wanted to try but didn't have the time to do so. Now my process is still rather random, but i have been trying to follow a simple one. Here is what I usually do.

1. I record my daily notes on my iphone app called Awesome Note! I love this app cos it's colourful and cute ! You can organised your notes into different coloured/patterned folders, attach photos, insert location and all sort of stuff. Choose font size and font types ! (u can try evernote too, this is free and it has one on computer too, for convenience. I might switch one day, we'll see :) See a sample of the app in use here

2. base on my notes of the week, I sketch out the layout of where i want which photo to go and what sizes, then pull out the photos and collage them using Picasa (also a free program on the computer) I will then go to my local photo printing booth to get the 4x6s printed.

3. Since i'm not doing PL from my own stash, I will usually start with grabbing a bunch of scraps and dump them onto my table, choose some coordinating once and cut them down into 4x6 and 3x4. I cut lotsa extras and put them directly into the page protectors in the album.

4. I cut the photos to size and slot them in . (i'm very happy with how it looks already !)

5. I pick up relavent ephemera from my envelop and slot them into the protectors pocket too.

6. Now comes the fun part, i pick the products i want to include in my layout, usually some flair buttons, wood veneers, one sticker sheet, some washi and 2 stamps set. I dump them all into a small container :) ( it's like shopping at home! So fun!)

7. Finally i will put all the embellishments together and add my journalling and teeda! it's done!


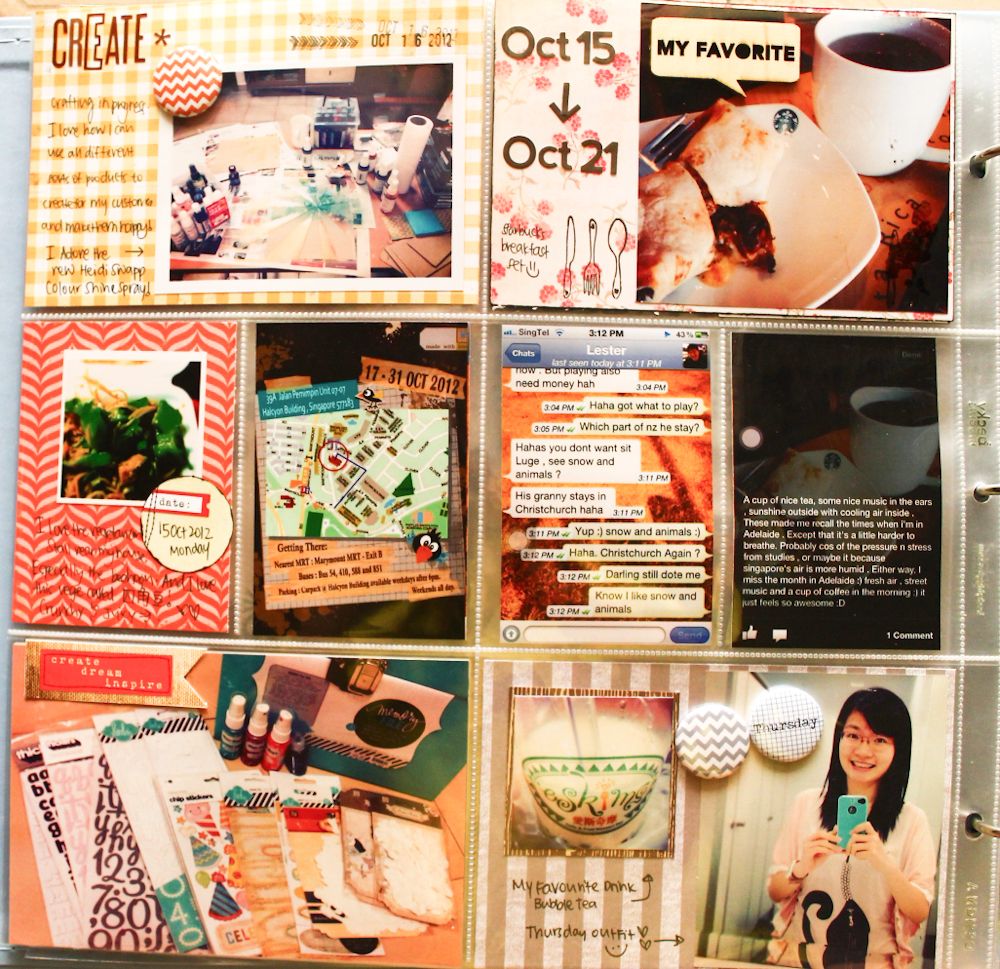
Here is my Week 42 spread:


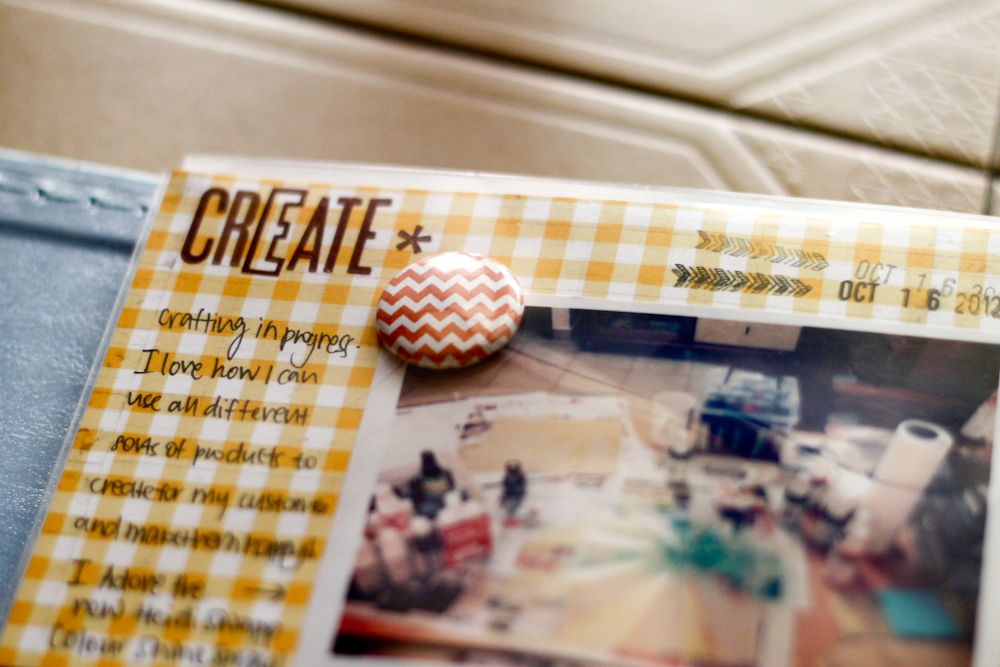
Love the wood veneers

Using Amy Tangerine alpha sticker
and her tips on cutting out the frame around the words on the negative piece!

I love flair buttons!

Ok here is the big thing
I love this and wanna share a "tip" with you all

The left hand side is a conversation between me and my boyfriend on whatsapp and i just screenshot it thru my iphone. 
Because he is overseas and we are not album to take photos together, nor do we go out together, hence here is how i document our conversation :) 
I love that it capture the turn conversation and the feelings at that moment, if we rewrite it using journaling , some feelings might be lost. Of cos, we can add our comments to the conversation using another journaling card :) 
I also do screen shots when we are skyping, making funny faces etc ! Ha~
So much of taking photos together hehe.
Try it if you haven, screen shot your conversation with your love ones, be it husband, boyfriend, friends or children . and print it out with the rest of the photos :) And let me know how u feel about it :)

secondly, the right hand side is a screenshot of a facebook photo with its comments
It's a good way to add Journalling to your PL page , if you have a fb status to document, screenshot from you phone and print it out with the photos too ! I love that the picture is kind of blended into the background of the words , not losing the content and the picture! 
Try it too if you haven't :D

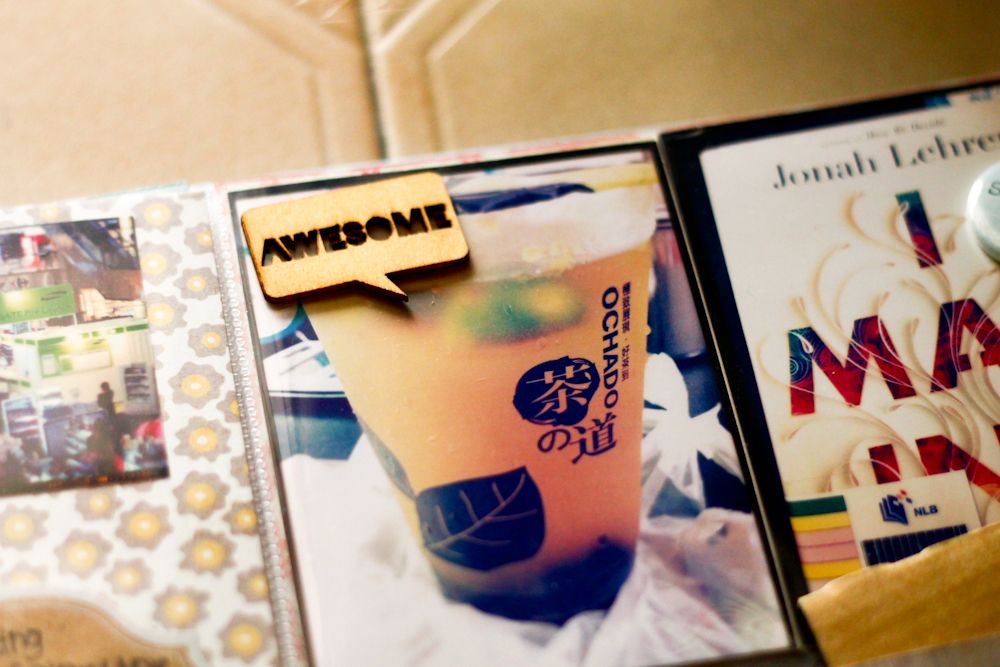
And yes i love bubble tea
and wood veneers :p


So much for now
I will be back soon sharing week 43 spread :)

Friday, November 9, 2012

Another batch of handmade goodness :D

I thought I should update with a little something 
these few weeks is going to be really busy
with all the tests and exam coming in 
But here goes, some layouts I have done over the last holidays
These layouts are done using the studio calico handmade kit

BY the way, I have updated my gallery at studio calico
You can take a look HERE
and like or comment as you wish :)
Comments are welcome , here there everywhere!

*photos are taken before i write the journalling , some privacy hehe *


Mcguigan is a Winery in Adelaide 
which i visit during may
They produce de-alcoholized wine which i find interested
This layout is done following the sketches by Shimelle Laine

The colourful chevrons are stamped with 
exclusive studio calico stamps


hidden "unglam" photo inside!


____________________________________________


Love the chevrons so much that i thought i make a bunch
this layout is on Whispering Wall 
same trip to Adelaide
Love the photo

Little flower i made using studio calico Fab-rip
Fun:)

Here's another fab-rip (fabric )

___________________________________________________

Ok, i'm officially crazy over the chevron stamp
Now trying them on a sheet of 12x12 kraft cardstock
a more muted tone, but i still love how it looks like :)

A close up
You see, I love twines, 
they are great to add a little touch to every project you're doing
doesnt add bulk, but it does change alot
imagine the layout without the twines
missing a whole lot!

______________________________________________


trying a little something different and simple
using my new ek- success cheese punch
to do some decoration with confetti


Another way to use the fabric is to layer it under the photo
fold it a little, make it looks like a section of a curtain on the window

___________________________________________________


Love this layout
I used this awesome maya roads words stamp 
love the font

some close ups
i did some misting too :)

haha not forgetting the chevron
see that tone - on - tone chevron peeking in the right hand corner ?
still loving chevron


________________________________________________

and last but not least!
I was thinking what can i do with this bright pink die cut paper
and i thought i muted it down alittle 


more flowers

flowers :)

and flowers! haha

Wow, that's alot of layouts from one kit
that's how fun a kit can be.
you can make your own kit and scrap lots of photos at once
or buy a kit from various kit clubs like studio calico and many others
I love studio calico's kit so far 
and there are more to discover too :)
If you haven try a kit, give it a try 
it might not be for everyone
but it can be really fun and therapeutic 
sitting down with everything and not having to worry of what to match :)
Because they all matches!
____________________________________________

That's all for now and till next time!
~ xoxo ~